Installation and getting started
To get ReceivingDB up and running, you will need:
- A MongoDB instance
- A locally or cloud-hosted installation of ReceivingDB
-
Setting up MongoDB
-
Install on heroku
-
Or, install locally
-
Getting started
-
User guide
-
API Documentation
-
Documentation landing page
Setting up MongoDB
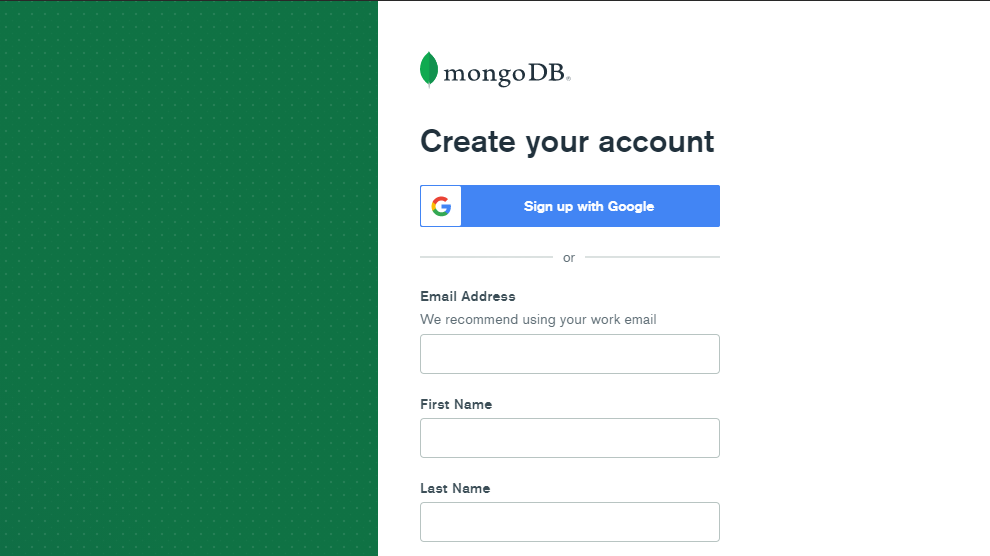
ReceivingDB requires a MongoDB connection string as an environment variable to set up database services. A self-hosted MongoDB instance is an option, but for the quickest, most straightforward setup, create a MongoDB Atlas account and set up a cluster there.
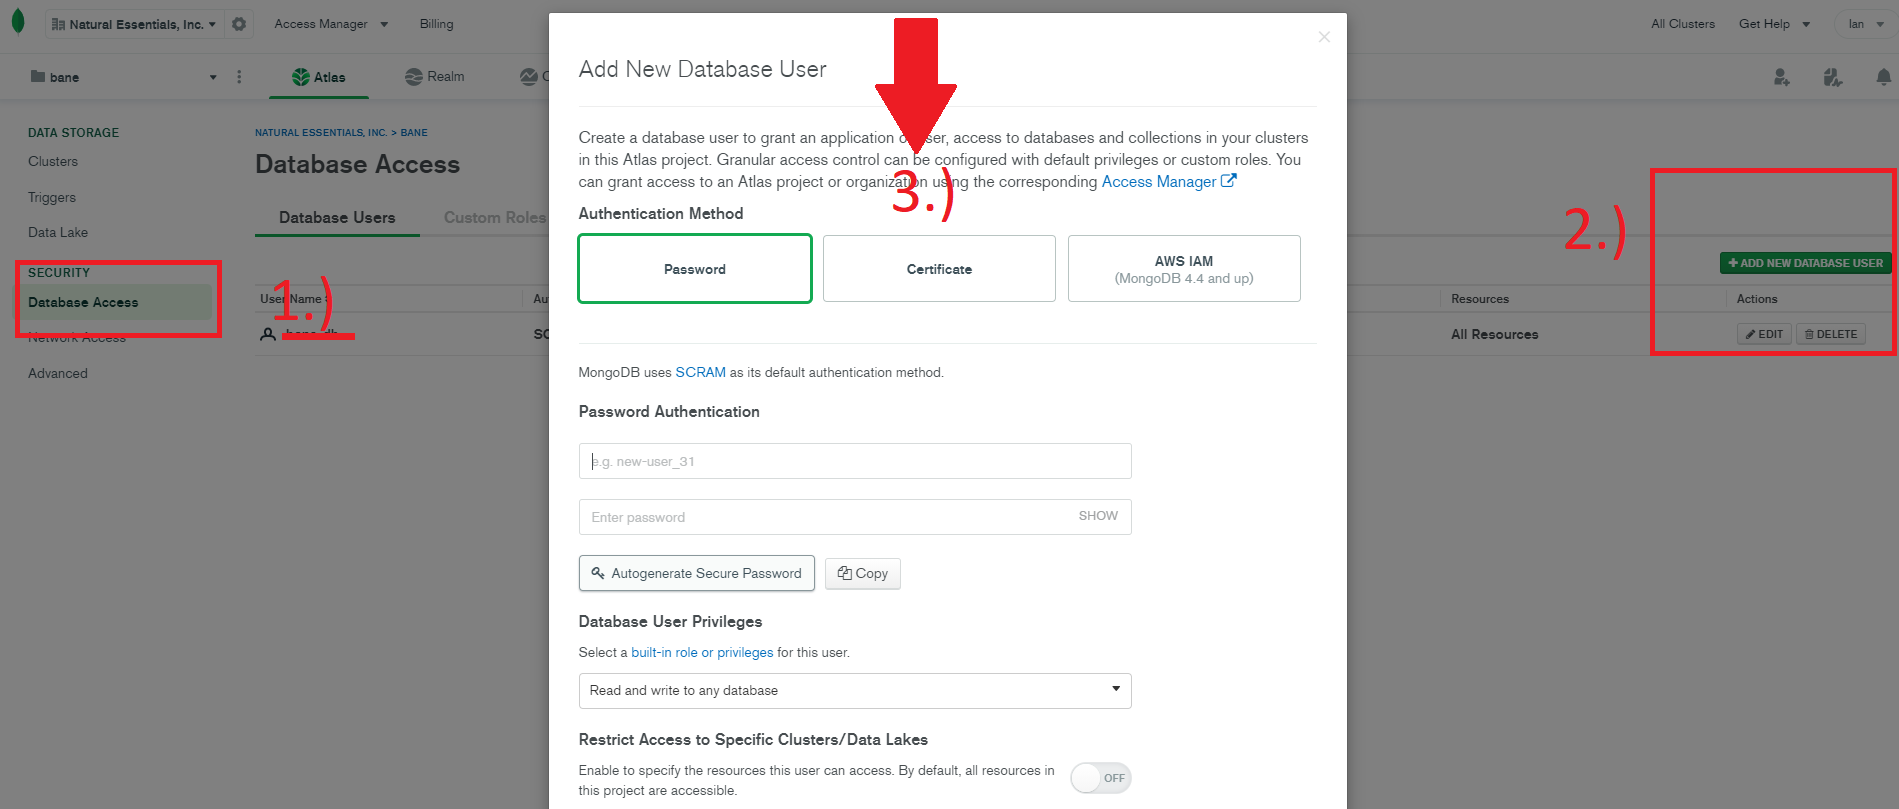
From “Security” > “Database Access,” choose to “add new database user.” ReceivingDB will use this database user account for connecting to your MongoDB cluster, so be sure to select a secure password.
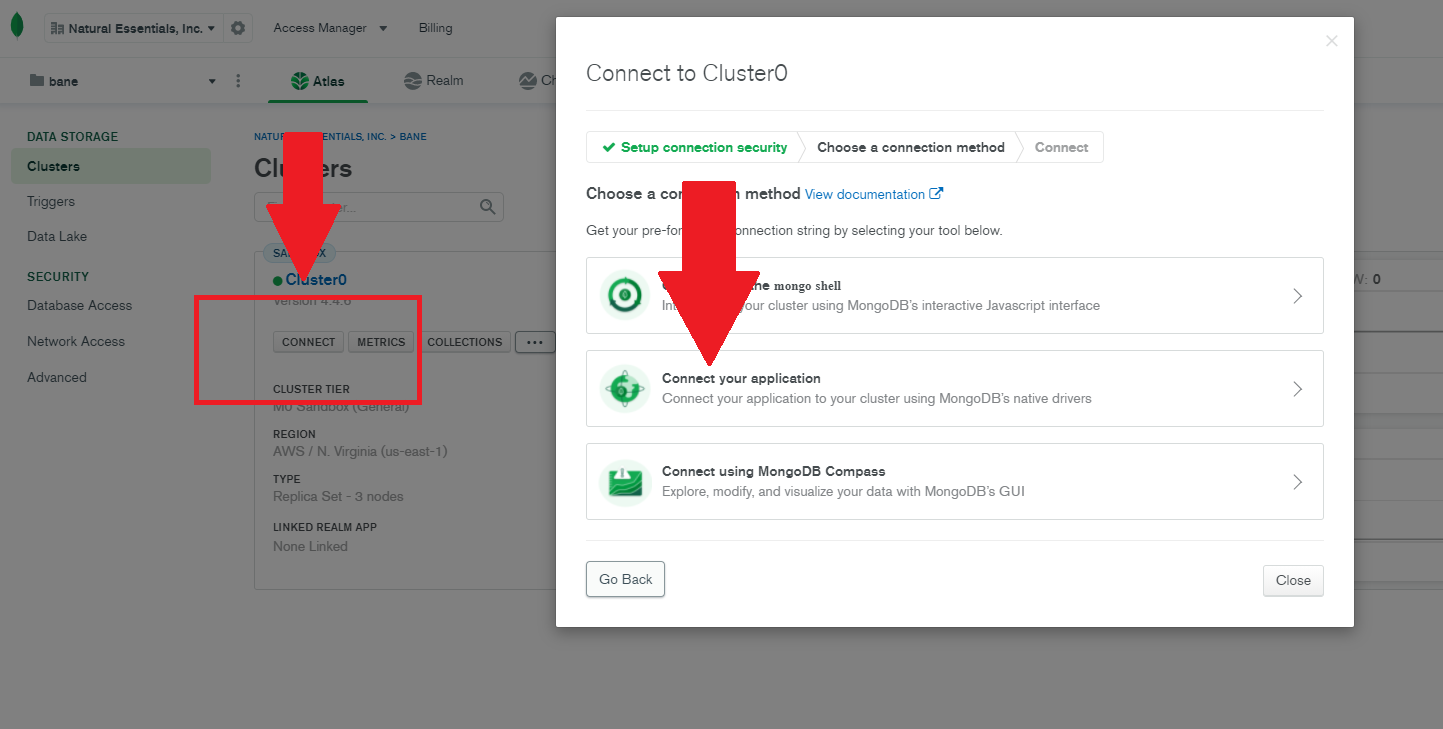
Once you’ve instantiated your first cluster, click on “Connect” and choose to “Connect your application.”
The connection string returned to you will look something like this:
mongodb+srv://<username>:<password>@testing.edbyi.mongodb.net/myFirstDatabase?retryWrites=true&w=majority
Replace <username> and <password> with the username and password you’ve
assigned to your new database user, and replace myFirstDatabase with the name
you would like used for the ReceivingDB collection (“receiving” would be a good
choice). Keep this connection string handy, as you will need it momentarily.
Install on Heroku
Use the one-click deploy button below to deploy your instance of ReceivingDB.

You will be redirected to Heroku, where you will be asked to either sign in or create a free account. Once authenticated, you will be prompted to name your app and provide the required environment variables.
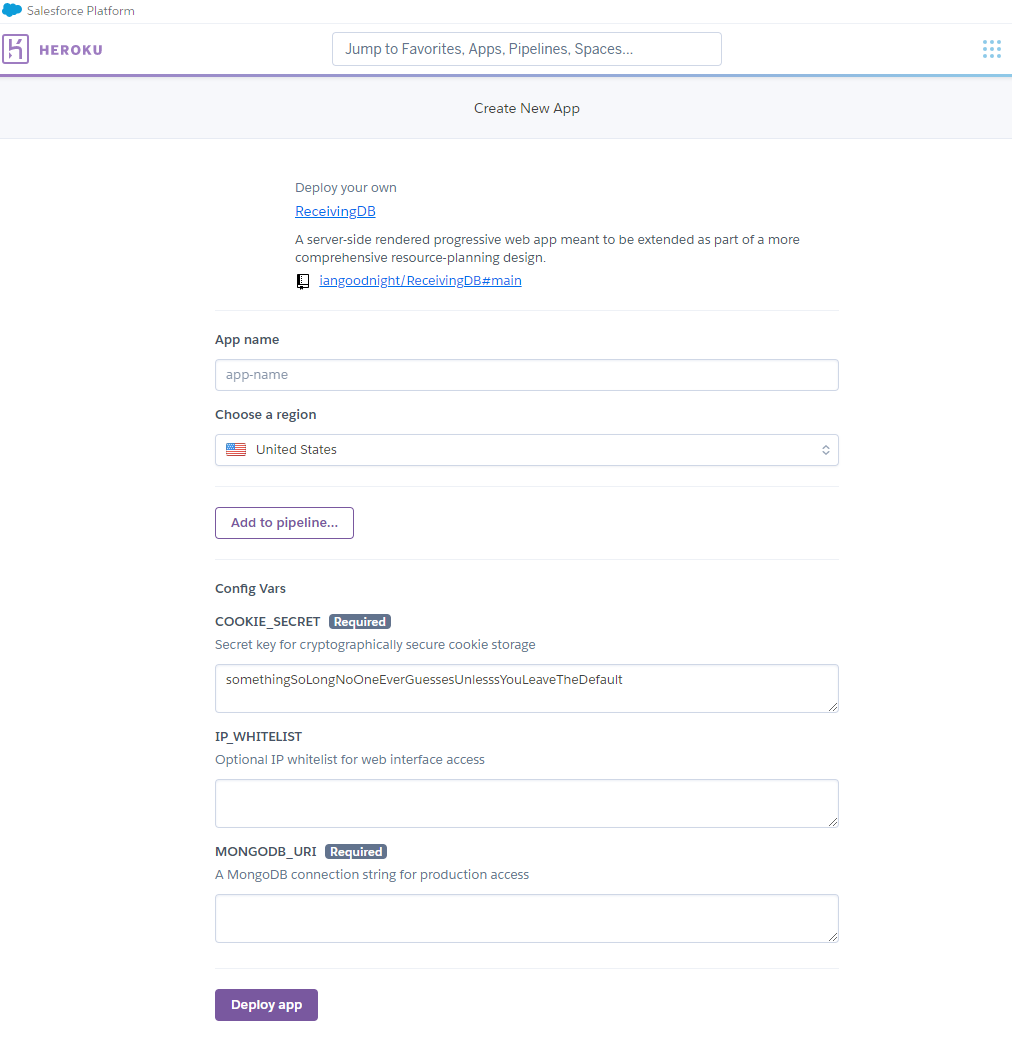
Environmental Variables
| Var | Required | Description |
|---|---|---|
COOKIE_SECRET |
✓ | A secret key to sign secure cookies |
IP_WHITELIST |
✗ | A semicolon-separated list of allowed IPs |
MONGODB_URI |
✓ | A MongoDB connection string |
Make sure to choose a long string for your COOKIE_SECRET. This secret will be
used to sign your secure cookies and to keep your sessions private. The
IP_WHITELIST will optionally limit access to ReceivingDB to specific IP
addresses (i.e., 171.216.30.2;171.216.30.3;171.216.30.4). MONGODB_URI is the
MongoDB connection string we set up previously.
Check your installation
You will see the build log reporting on the progress of your install. Once the build process finishes, click “Manage app” and then “Open app,” and you should find yourself on the landing page of ReceivingDB.

Or, install locally
If you prefer to install it locally, you can fork this repo, pull down the files
from GitHub, and install the dependencies with npm install. Just as we saw
with a Heroku deployment, you will need to set your environment variables. In
this case, save them in the format <KEY>=<VALUE> at your application’s root,
naming the file .env. Refer to the env.example file that comes along with
the repository as a template. Start the application with npm start and navigate
to http://localhost:3000 and verify that the application renders before moving
on.
Getting started
ReceivingDB comes with a default admin account on installation.
| username | password |
|---|---|
admin |
123admin456! |
On your first login as the default admin, you are required to change the
password. A best practice is to use this account to create your own named admin
accounts and then disable it. You need at least one account with the WRITE
role in able to be able to add data to ReceivingDB. The AUDIT role is
required to make changes to entries after they have been entered. Only the
ADMIN role can create and disable user accounts. Once you have created an
admin account, you are free to create a user with the WRITE role and begin
entering data.
Further Documentation
- Check the user guide for detailed documentation and how-to guides.
- Return to the documentation landing page.